
recording from home.
part 1: the basics
section 1
introduction
| 01 | introduction |
cutting corners
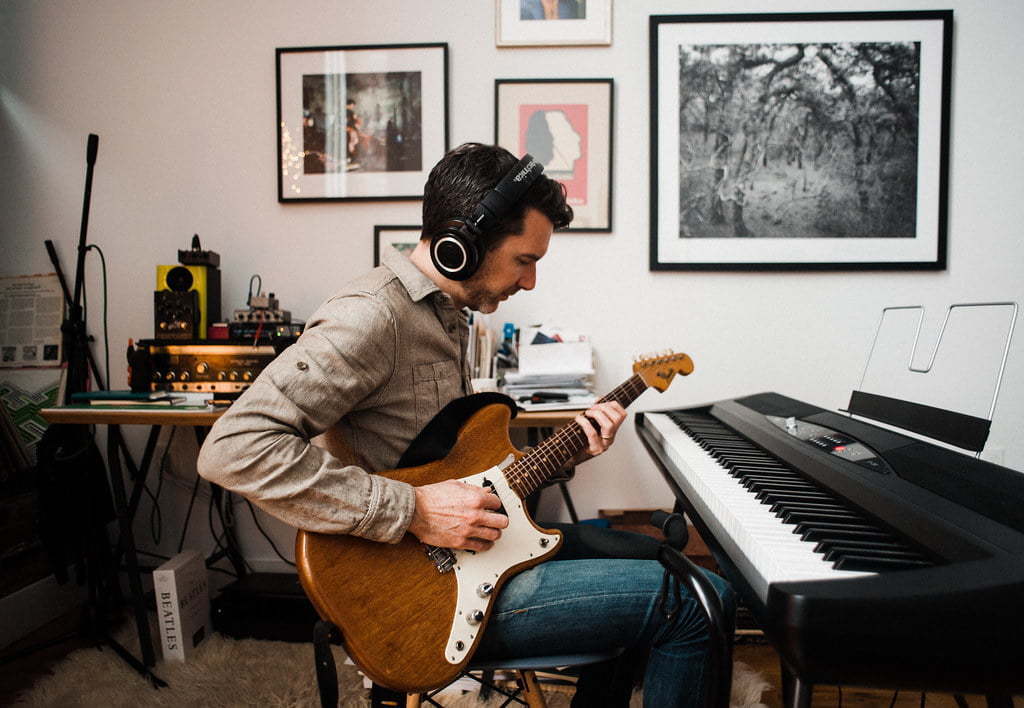
If you’re reading this, you’re probably thinking about setting up a home studio. We get it – we did the same. There are professional services that we encourage, but saving money is essential as an everyday musician and services may be costly. More importantly, you want something nearby when your creativity is peaking. This state of mind, we feel, is a groove locked into, and waiting too long can dissolve the moment. Don’t wait for next session; a home studio will help you capitalize on your best moments!
In light of this philosophy, our first tip is:
Have everything ready to record. Minimize time setting up between sessions.
. . .
This 3-part series will help you, our readers, get set up at home. It’s not as hard as you might think – plus, the process is exciting: finding the best mics, adjusting acoustics in your room, exploring effects and finding the right softwares. Many of these steps are fun and customizable to the sound you’re looking for. Get creative!
This is Part 1: The Basics. We explain the fundamentals of home studios, followed by Part 2: Equipment & Softwares and Part 3: Acoustics & Soundproofing. This series supports affordable, accessible materials and equipment. Happy reading!
section 2
what you’ll need
| 02 | what you’ll need |
Along with the knowhow, you’ll need some equipment to get started. This includes a microphone, cable, computer, interface and an instrument. You’ll need a recording software and may want some plugins, as well. Fortunately, there are fantastic options that will cost you nothing. We’ll expand on these details in Part 2: Equipment & Softwares. For now, take a glance at what we’ll touch on in this series, below.
equipment
computer gear: computer, digital interface, console…
cables: TRS, TS, XLR, MIDI…
microphones: dynamic, condenser, ribbon…
monitors: speakers, amplifiers, headphones…
instruments: synthesizer, Akai MPC, electronic drums
software
DAWs: Pro Tools, GarageBand, Ableton, Cakewalk…
signal processing: EQ, Compression, Panning…
jamming: JamTaba, Jamzone, JamKazam…
collaboration: Audiotool, BandLab, Ohm Studio…
acoustics
how sound moves: reverb, echo, surfaces…
panelling: absorbers, diffusers, reflectors…
extra steps: partitions, bass traps…
noise complaints: our advice…

section 3
noise complaints
| 03 | noise complains |
love thy neighbour
If you live in an apartment or have neighbours nearby, you may want to be respectful. Fortunately, there are many ways to record and stay friendly with the upstairs neighbours. Some of these include:
1. Plugging electric instruments directly into your software and recording like that (direct input).
• electric drums, keyboard, electric guitar, etc.
2. Using headphones.
3. Playing at certain times of the day.
4. Acoustically treating your place.
• absorption panels; stands for amplifiers and speakers; reducing audio contact from walls and floor (vibrations travel through material, especially bass frequencies).
• (We’ll get into this more in Part 3: Acoustics & Soundproofing.)
section 4
acoustic treatment
| 04 | acoustic treatment |
egg cartons don’t work.
You may have seen this before. I mean, egg cartons do something, but they’re not a significant force in changing the acoustics in your room. Furniture plays a much greater role: shape, size, material and position all matter. The same parameters apply to the room itself.
Sound waves bounce around a room like kids on pop rocks, interacting with different surfaces by reflecting, diffusing and absorbing. If you’re trying to absorb room sound, couches, beds and beanbags all do this with great success.
Furniture also breaks up sound, diffusing it and removing hard echoes. This gives a much more distributed audio. We’ll get into all of this in Part 3: Acoustics & Soundproofing.
All we’ll say is, soundproofing is the common priority. If your amp’s cranked to 11, you need more than a couch to stop your neighbours from losing it. But cushiony furniture helps, as can putting amps on stands, far from any walls. With the right materials, your space will harmoniously go on to produce great music.
And that’s what we’re all about.

section 5
in closing
| 05 | in closing |
let’s get it started
We wanted to be brief, so if you’re interested in setting up a space to record, please read Part 2: Equipment & Softwares. We’ll explain how digital interfaces work. We’ll tell you about microphones, what types you want and why. We’ll recommend some free recording softwares, and we’ll help you get started. Let’s go!
